
Professional Installation Guide for Interior WPC Wall Panels
Table of Contents
- Introduction: The Role of WPC Wall Panels in Modern Interior Construction
- Common Applications of Interior WPC Wall Panels
- Pre-Installation Planning and Project Assessment
- Acclimatization and Storage Requirements
- Tools and Materials Required
- Wall Surface Preparation Standards
- Installation Methods for Interior WPC Wall Panels
- Cutting, Detailing, and Finishing
- Expansion Gaps and Movement Allowance
- Installation Time and Cost Considerations
- Maintenance After Installation
- Conclusion
1. Introduction: The Role of WPC Wall Panels in Modern Interior Construction
Interior wall systems have evolved far beyond traditional paint, wallpaper, or ceramic tile. Today, architects, designers, and contractors increasingly demand wall materials that are visually appealing, structurally reliable, and efficient to install. WPC wall panels have become a preferred solution for modern interior spaces precisely because they meet these combined requirements.
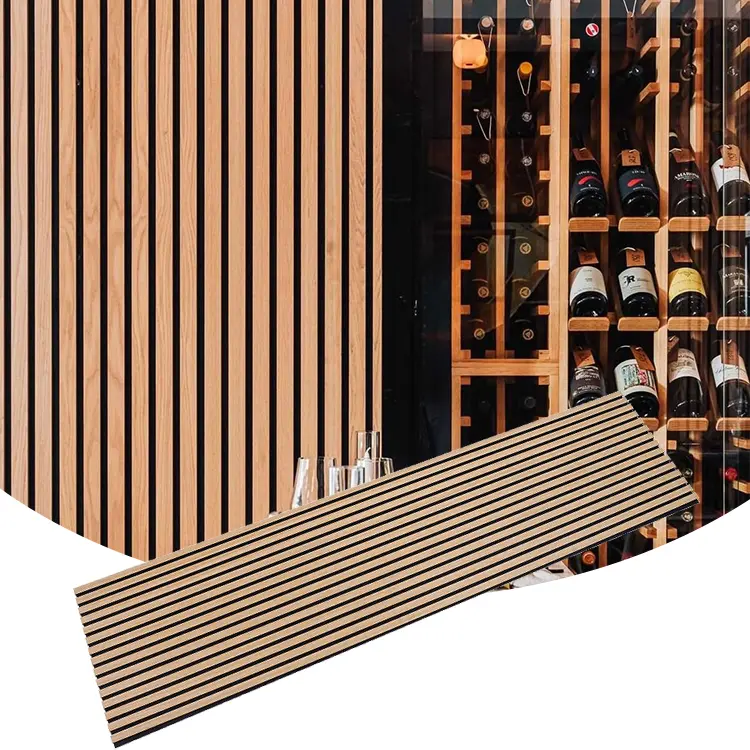
Manufactured from a composite of wood fibers and polymer resins, WPC wall panels offer the appearance of natural wood while eliminating many of its weaknesses. They are resistant to moisture, less prone to warping, and more stable under temperature changes. For interior applications, this translates into longer service life, reduced maintenance, and consistent visual quality across large wall surfaces.
This professional installation guide focuses on best practices for installing interior WPC wall panels in residential and commercial environments. While installation methods may vary slightly between manufacturers, the principles outlined below are widely applied across the industry.
2. Common Applications of Interior WPC Wall Panels
Interior WPC wall panels are used across a wide range of projects due to their versatility and performance advantages.
Typical applications include:
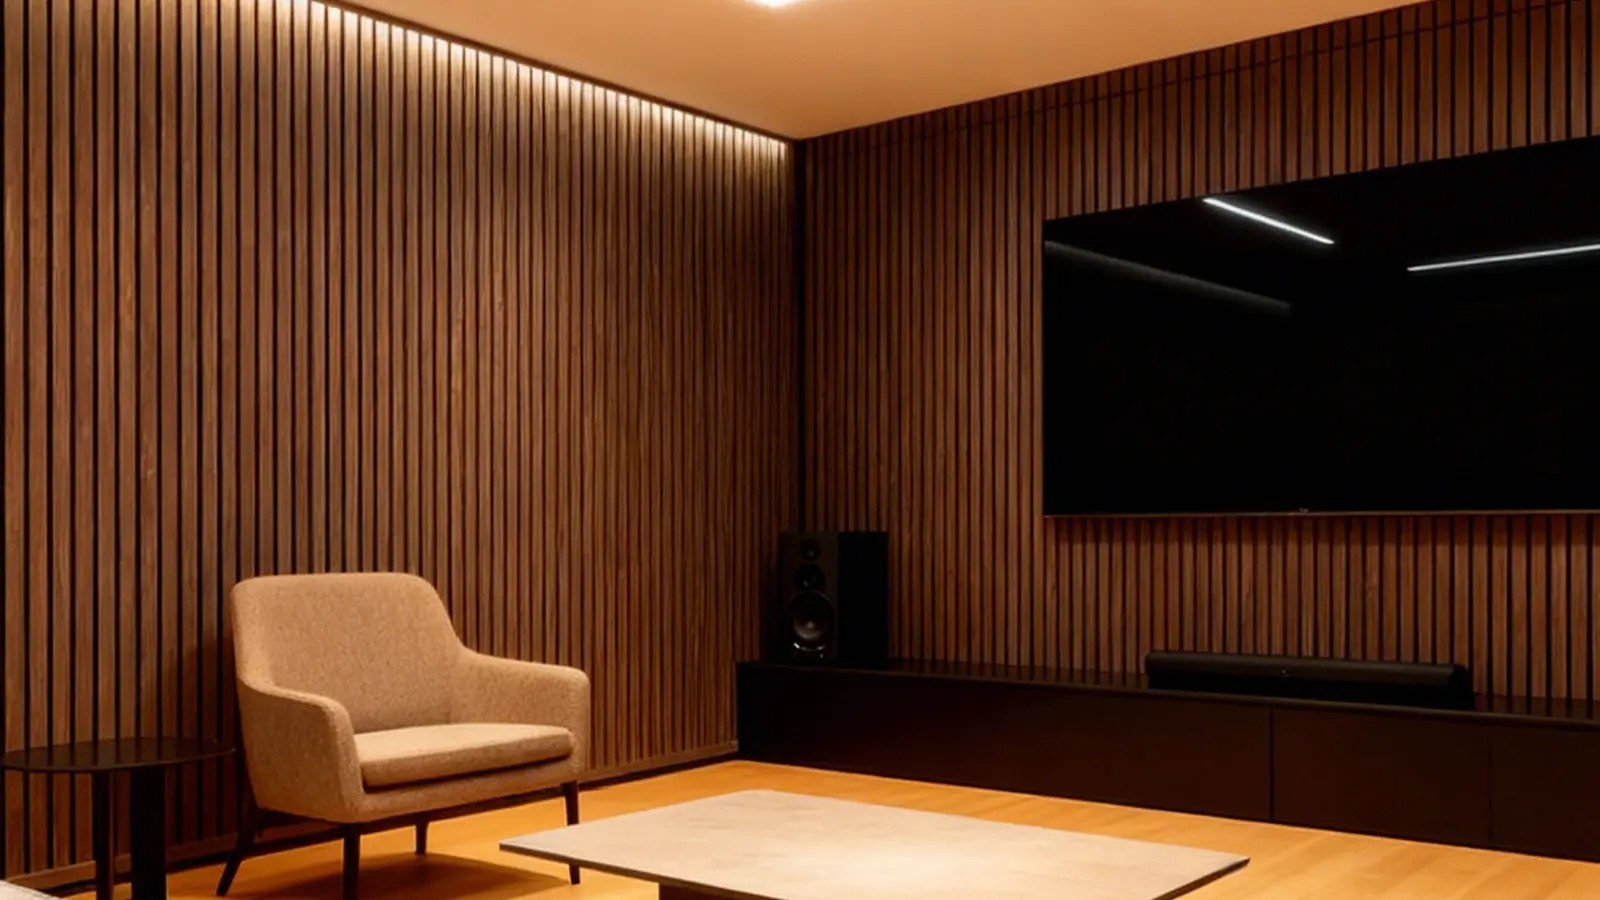
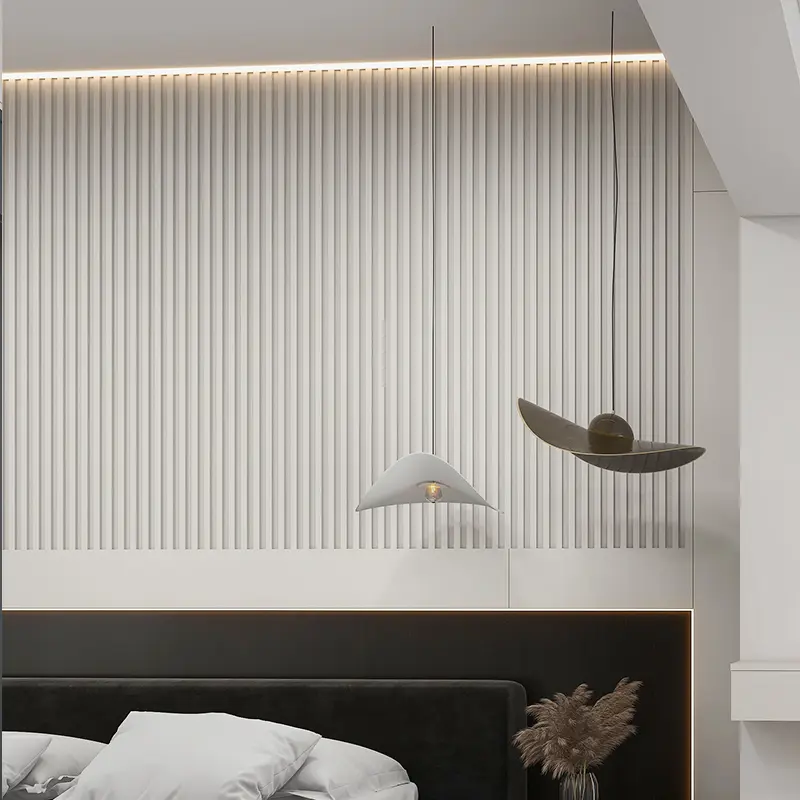
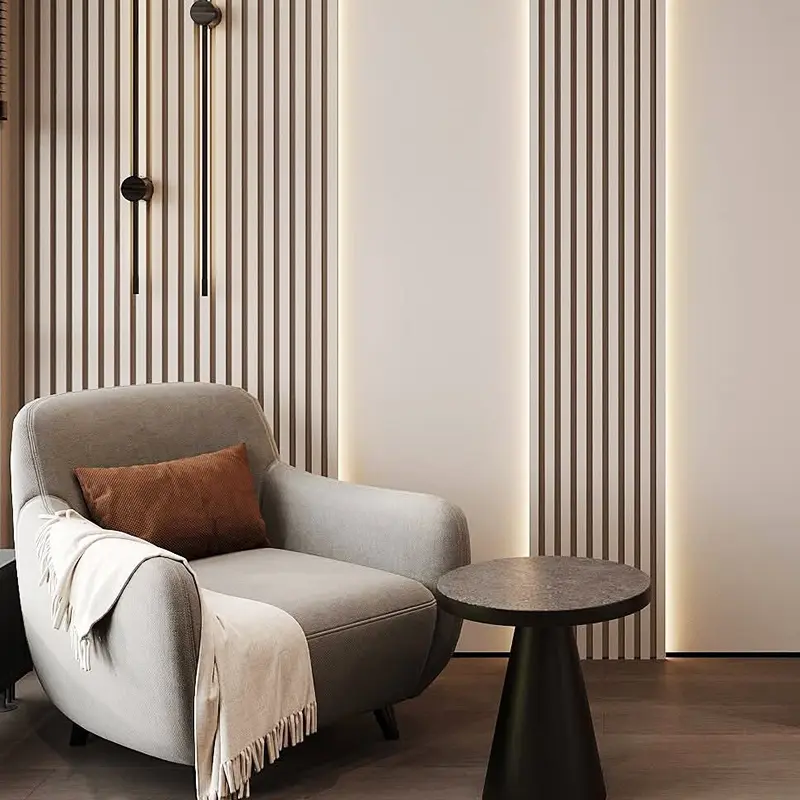
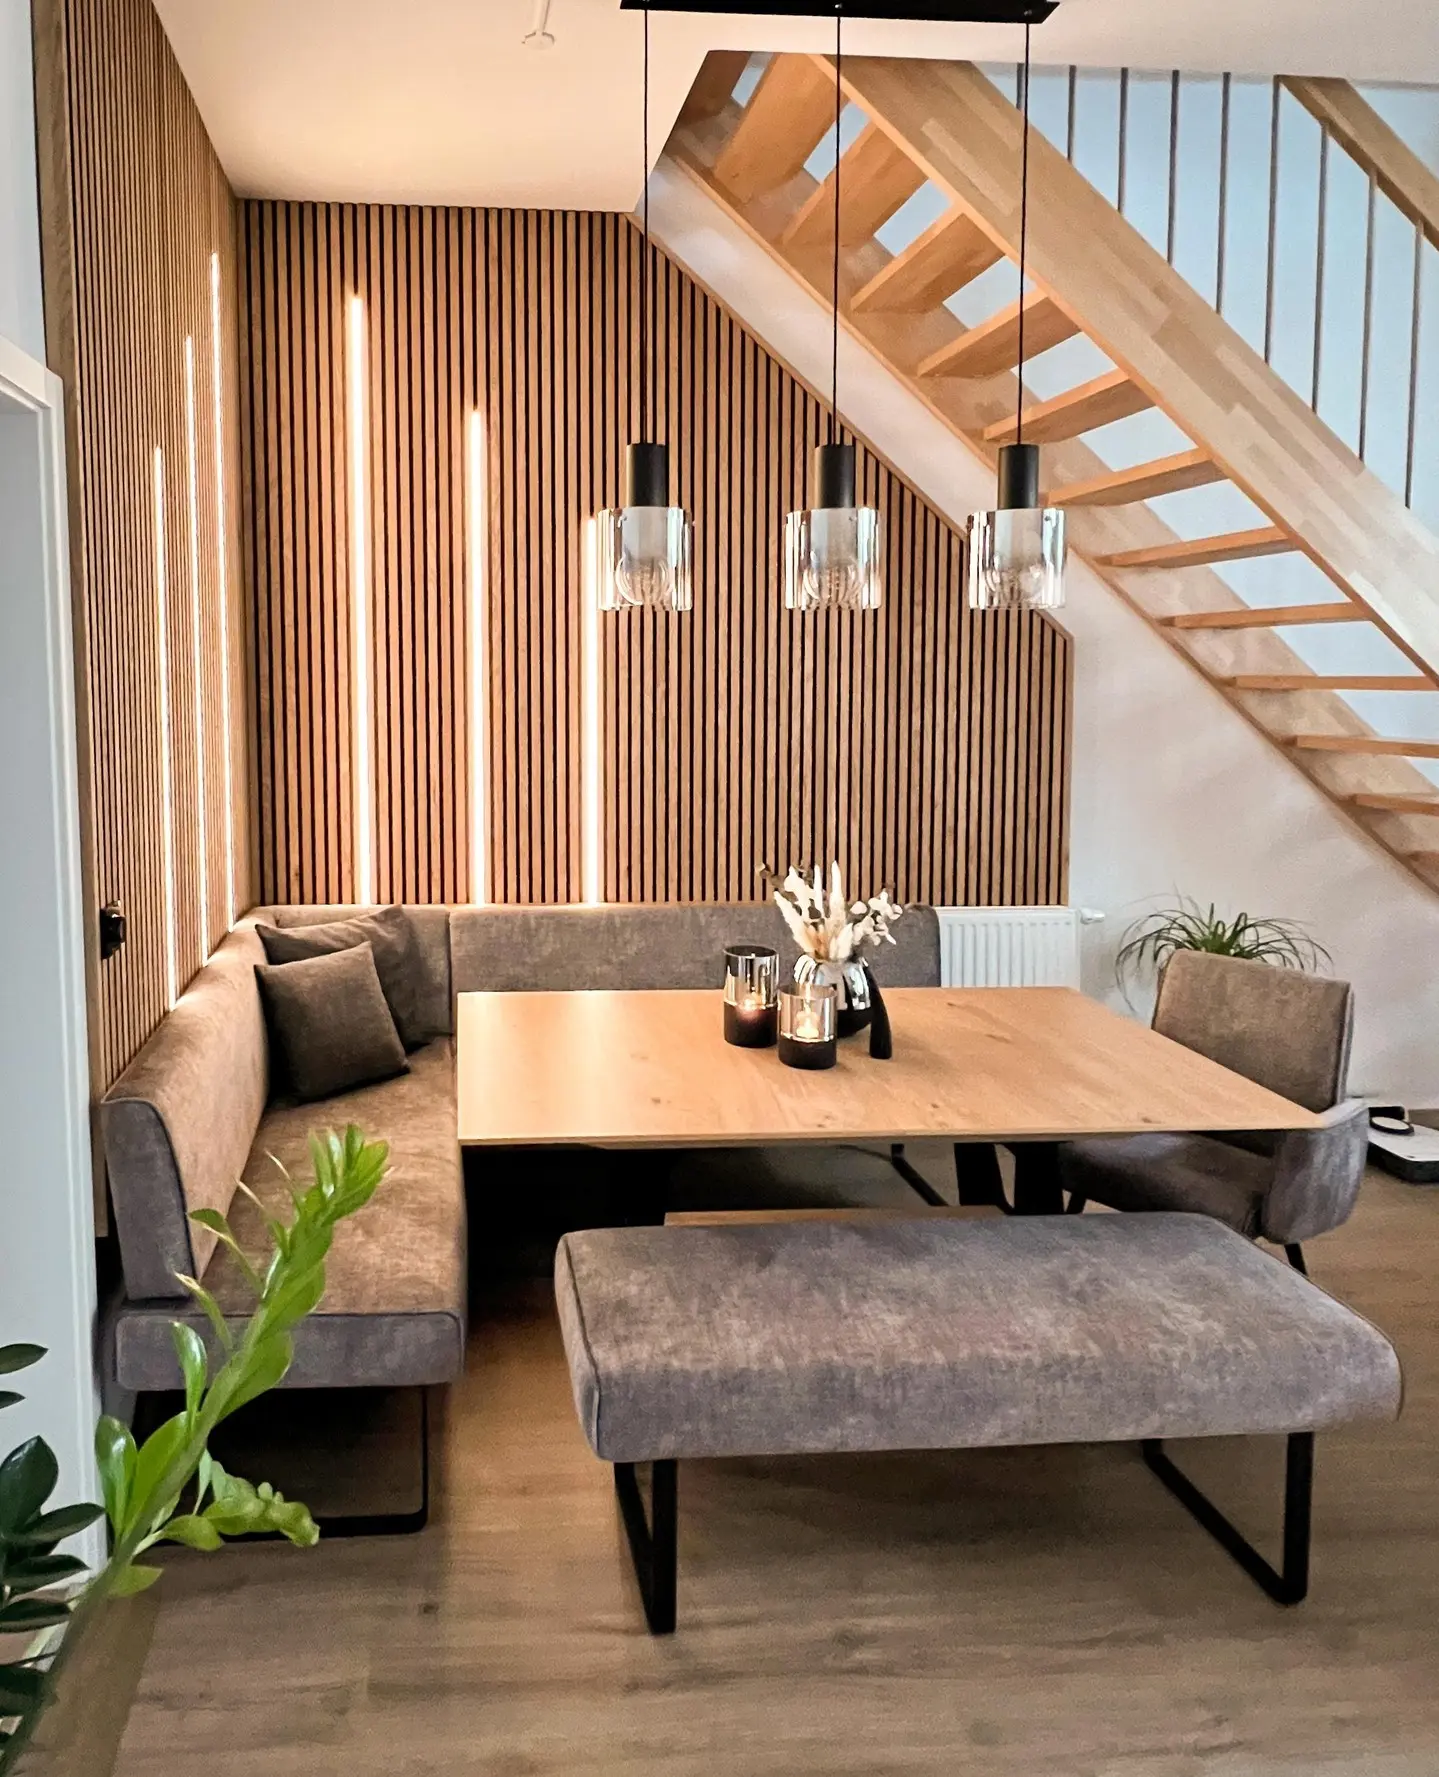
- Living room and bedroom feature walls
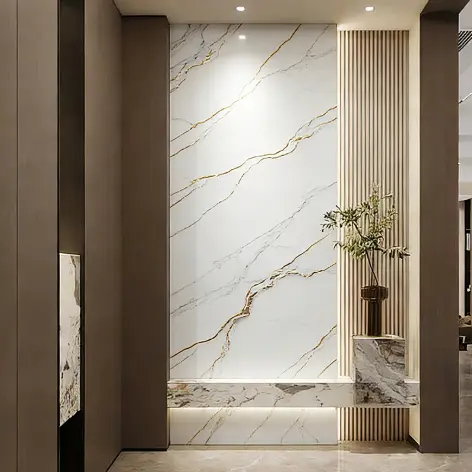
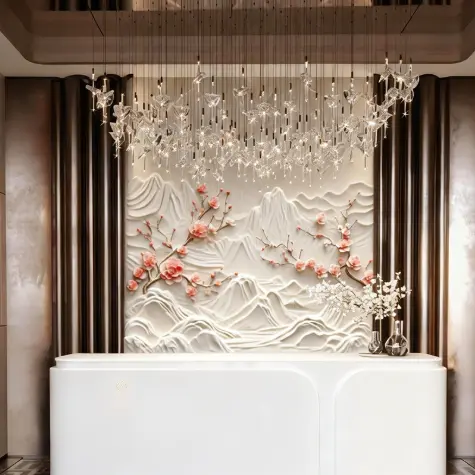
- Hotel guest rooms, corridors, and lobbies
- Office reception areas and meeting rooms
- Retail interiors and showroom walls
- Restaurants, cafés, and hospitality spaces
In semi-humid areas such as kitchens or powder rooms, WPC wall panels perform well when installed with proper sealing and ventilation. Their resistance to swelling and surface deterioration makes them more reliable than natural wood in these environments.
3. Pre-Installation Planning and Project Assessment
Proper planning is the foundation of a successful WPC wall panel installation. Before starting, it is essential to review the project scope and installation conditions.
Key planning steps include:
- Confirming wall dimensions and layout
- Determining panel orientation (vertical or horizontal)
- Identifying locations of electrical outlets and fixtures
- Selecting matching trims and accessories
- Calculating material quantities with extra allowance
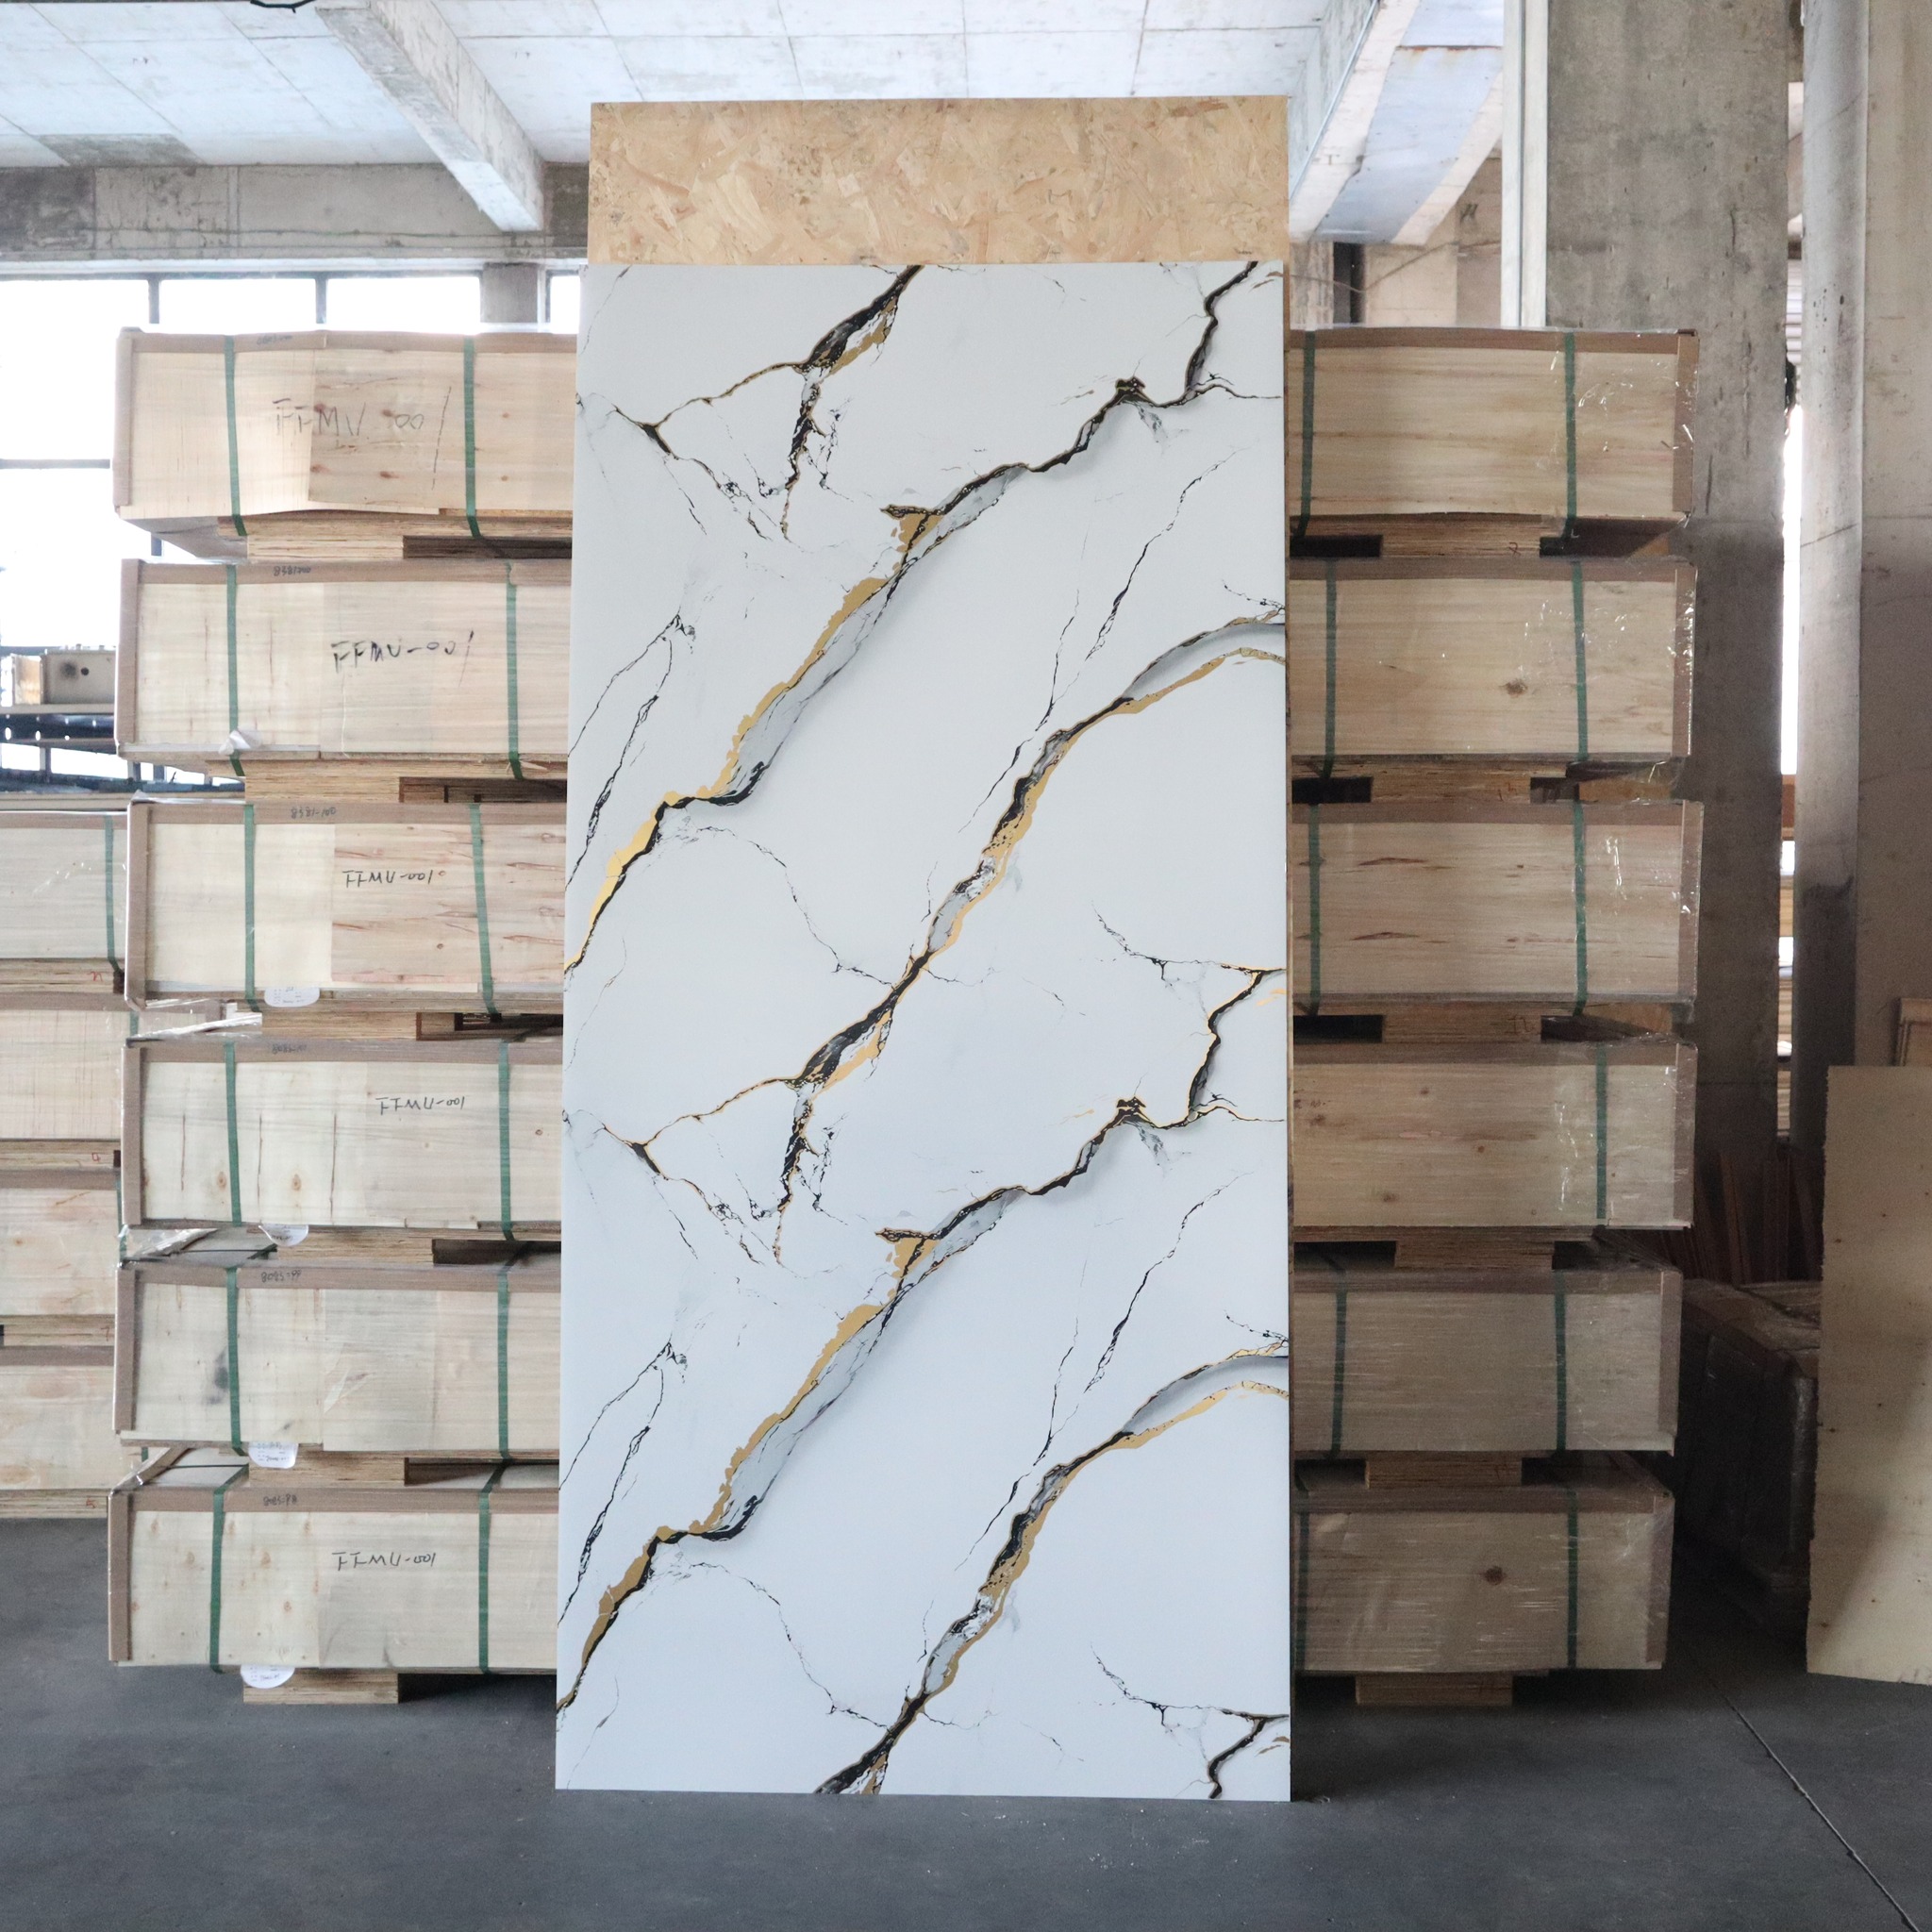
For large projects, it is recommended to order all panels from the same production batch to ensure consistent color and surface texture. Panels should be delivered and stored indoors, away from direct sunlight or moisture exposure.
4. Acclimatization and Storage Requirements
Although WPC panels are dimensionally stable, acclimatization is still an important step. Panels should be placed flat in the installation area for at least 24 hours before installation. This allows them to adjust to the ambient temperature and humidity, reducing internal stress after fixing.
Improper storage, such as leaning panels vertically for extended periods, may lead to slight bending that complicates installation.
5. Tools and Materials Required
Using appropriate tools improves efficiency and reduces the risk of surface damage.
Recommended tools:
- Measuring tape and marking pencil
- Spirit level or laser level
- Circular saw or jigsaw with fine-tooth blade
- Electric drill and screwdriver
- Rubber mallet
- Utility knife and straightedge
Materials:
- WPC wall panels
- Starter trims, corner trims, and end caps
- Construction-grade adhesive
- Screws or concealed fasteners (if required)
- Silicone sealant for finishing
Personal protective equipment should always be worn during cutting and drilling operations.
6. Wall Surface Preparation Standards
A clean, stable substrate is essential for long-term performance.
The wall surface must be:
- Dry and free from moisture issues
- Flat, without significant bumps or depressions
- Structurally sound and capable of supporting the panel weight
- Free from dust, grease, or loose materials
For uneven walls, installing battens or furring strips is strongly recommended. This creates a level base and simplifies alignment, especially in renovation projects.
7. Installation Methods for Interior WPC Wall Panels
Method 1: Adhesive Installation on Flat Walls
This method is commonly used for residential interiors and hotel rooms with well-prepared walls.
- Install starter or corner trims along the wall edge.
- Apply adhesive to the back of the panel in vertical lines or a zigzag pattern.
- Press the panel firmly against the wall, starting from one side.
- Check alignment using a level before continuing.
- Use masking tape to hold panels in place while adhesive cures.
This approach creates a clean surface with no visible fixings.
Method 2: Interlocking WPC Wall Panel System
Interlocking WPC wall panels use concealed joints to create a seamless appearance.
- Secure the first panel carefully, as it determines overall alignment
- Lock subsequent panels into place along the joint system
- Tap gently with a rubber mallet if needed
- Check alignment regularly to avoid cumulative errors
This method is ideal for feature walls where visual continuity is important.
Method 3: Mechanical Fixing with Battens
For commercial interiors or uneven substrates, mechanical fixing offers additional security.
- Install vertical battens at 300–400 mm spacing
- Fix panels using concealed screws
- Maintain consistent expansion gaps
- Cover edges with trims for a finished appearance
This method also allows easier panel replacement during future renovations.
8. Cutting, Detailing, and Finishing
Accurate cutting is critical for professional results.
- Always measure twice before cutting
- Use fine-tooth blades to avoid surface chipping
- Cut panels on a stable surface
For electrical outlets or switches, mark cutout positions precisely and cut openings using a jigsaw or oscillating tool. Reinforce cut edges with adhesive before installation.
9. Expansion Gaps and Movement Allowance
Although WPC wall panels expand less than natural wood, small movements may occur due to temperature changes.
- Leave a 3–5 mm expansion gap at wall edges
- Avoid rigid sealing across large panel runs
- Use trims to conceal expansion gaps
These measures prevent long-term stress and surface deformation.
10. Installation Time and Cost Considerations
Compared with traditional wall finishes, WPC wall panels significantly reduce installation time.
- Faster installation than ceramic tiles or stone
- Lower labor skill requirements
- Reduced downtime for commercial projects
This efficiency makes WPC wall panels attractive for large-scale interior developments.
11. Maintenance After Installation
WPC wall panels require minimal maintenance.
- Clean using a soft cloth and mild detergent
- Avoid abrasive cleaners
- Periodically inspect joints in humid areas
With proper installation, Wpc Panels maintain their appearance for many years.
When installed following professional guidelines, interior WPC wall panels provide a durable, cost-effective, and visually appealing wall solution suitable for a wide range of residential and commercial projects.