
A Practical Installation Guide for WPC Wall Panels (Interior Use)
- Tools, Materials, and Pre-Installation Planning
- Understanding WPC Wall Panel Types
- Surface Preparation Requirements
- Step-by-Step Installation Methods
- Cutting and Shaping Panels
- Common Installation Mistakes and Solutions
- Estimated Time and Cost
- Final Notes and Best Practices
- Frequently Asked Questions About WPC Wall Panels
Introduction: Why WPC Wall Panels Are a Smart Interior Upgrade
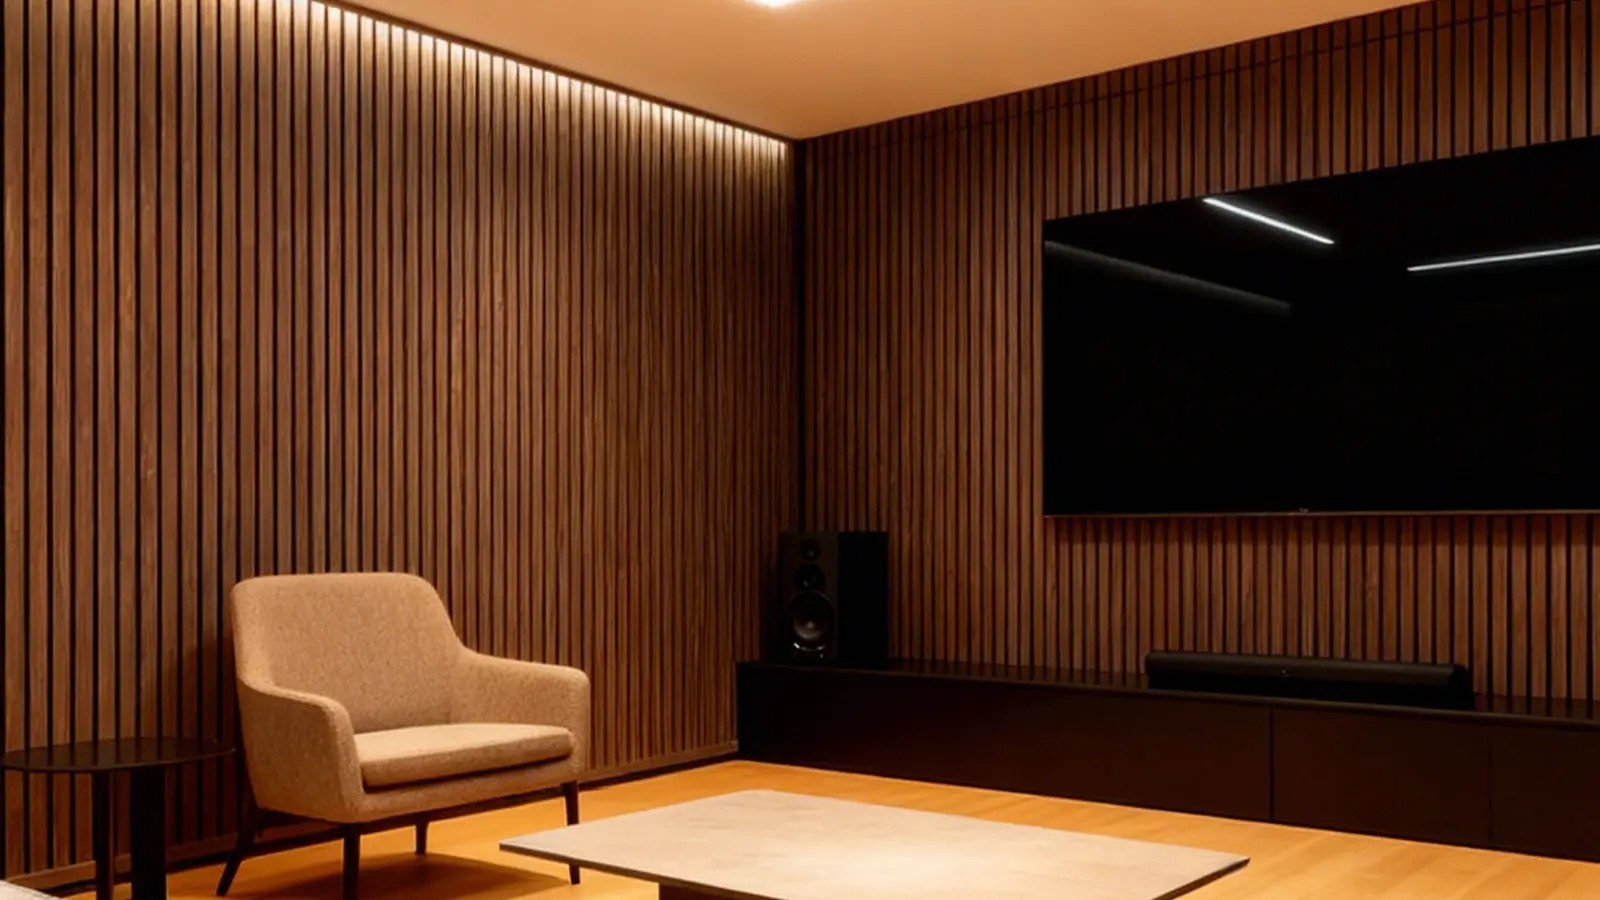
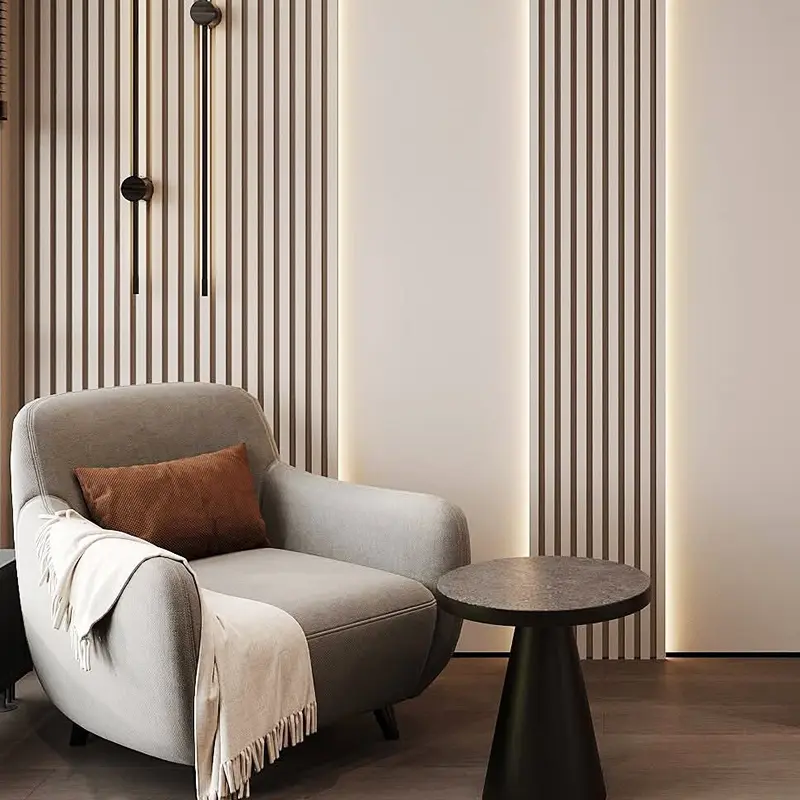
WPC (Wood Plastic Composite) wall panelshave become a preferred interior wall solution for residential and commercial projects worldwide. Combining the natural appearance of wood with the durability of polymer materials, Wpc Panels offer a balance between aesthetics, performance, and long-term value.
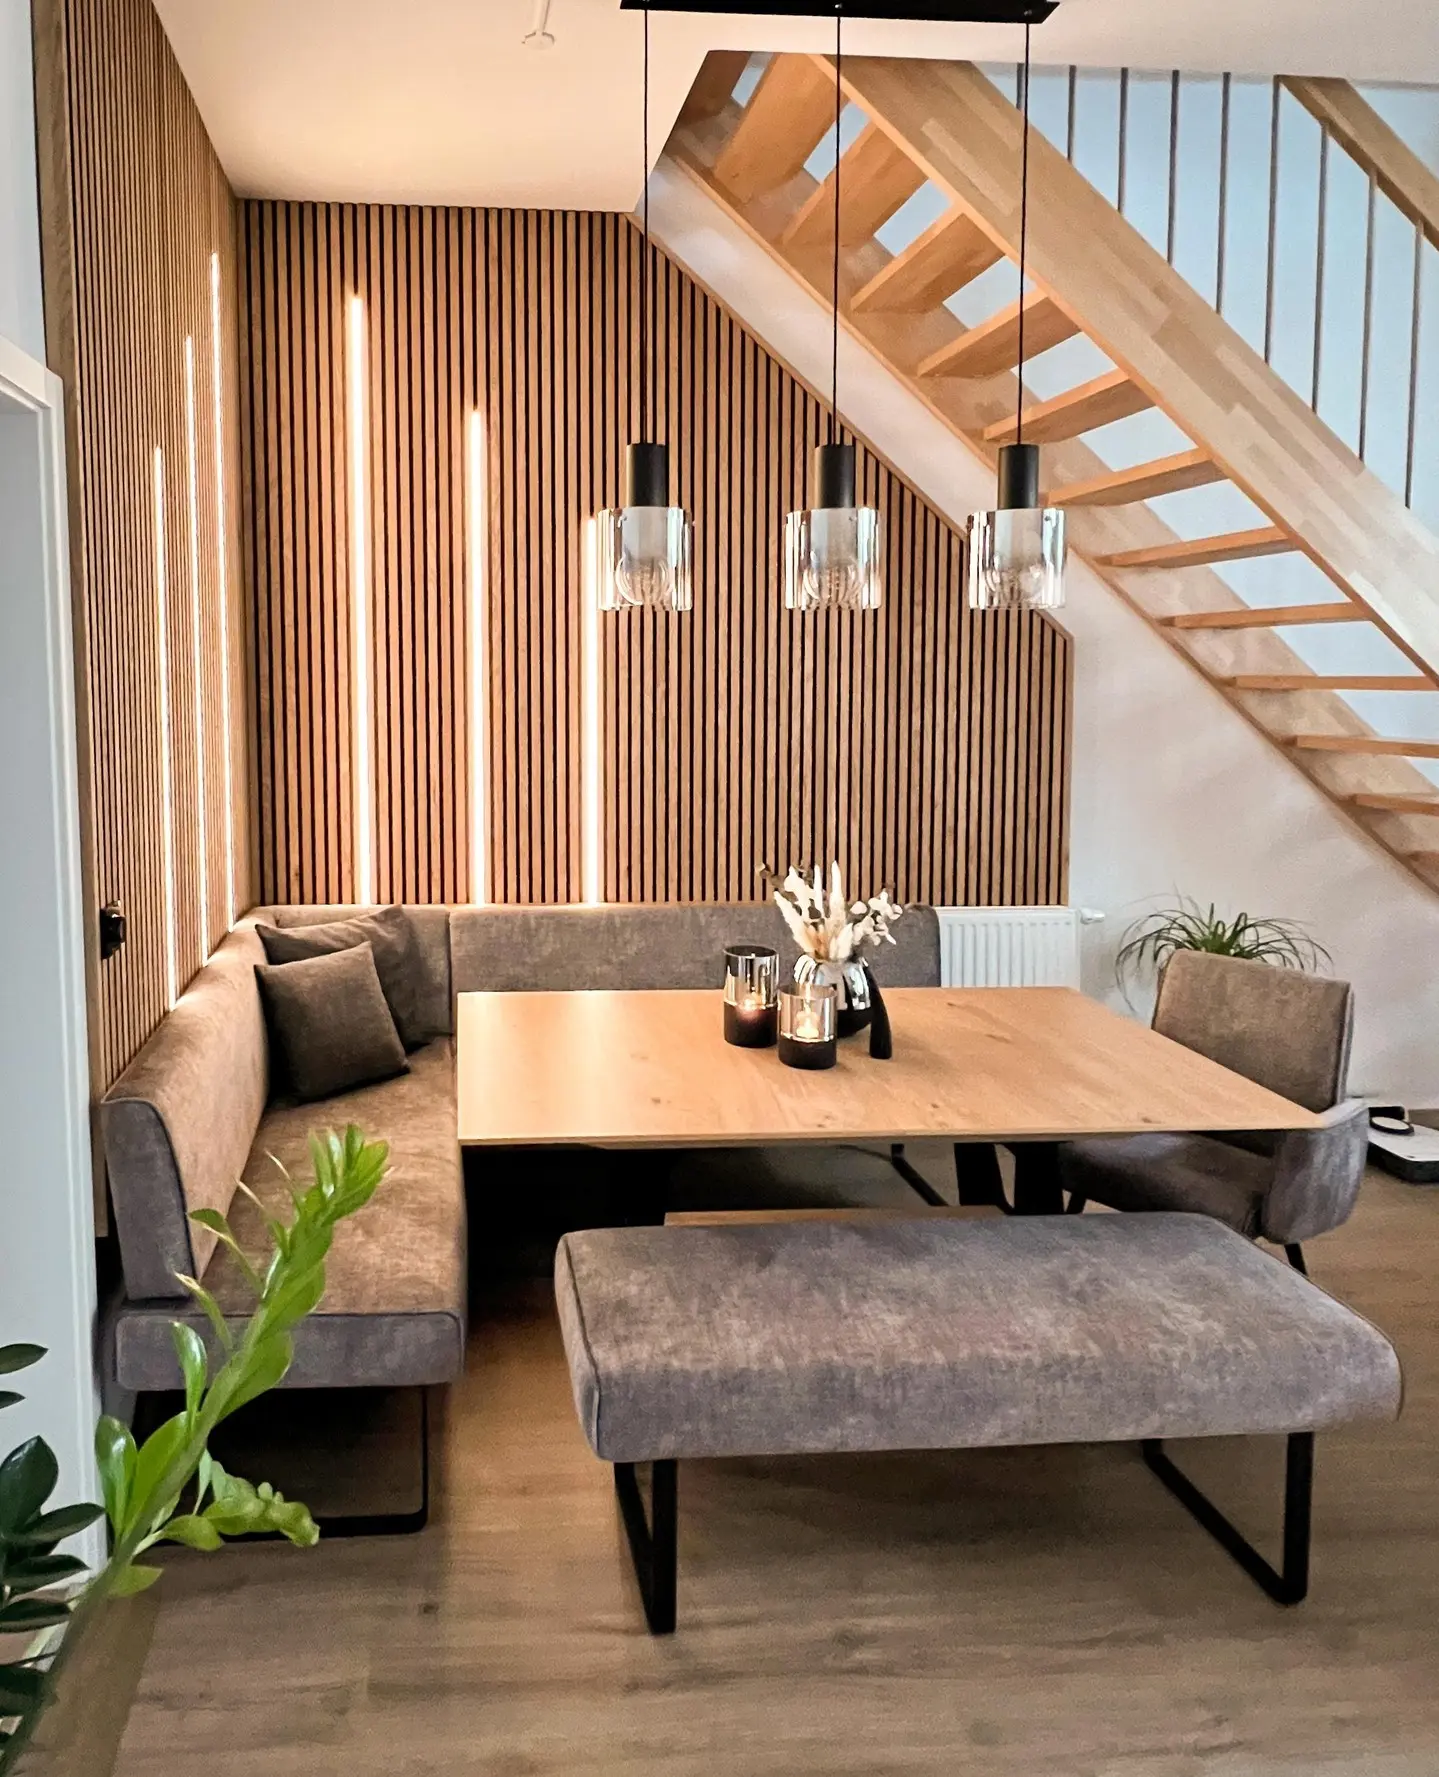
Unlike traditional wood panels that may swell, crack, or attract mold in humid environments, WPC wall panels are moisture-resistant, dimensionally stable, and easy to maintain. They are widely used in living rooms, bedrooms, kitchens, corridors, offices, hotels, and retail interiors.
This guide provides a clear, professional overview of how to install WPC wall panels correctly, following industry-standard practices. Always review the specific installation instructions provided by your panel manufacturer and confirm local building requirements before starting. For large projects or warranty-sensitive applications, professional installation is recommended.
Tools, Materials, and Pre-Installation Planning
Proper preparation is essential for a smooth installation and a professional finish.
Recommended Tools
- Tape measure and marking pencil
- Spirit level or laser level
- Fine-tooth saw or circular saw (reverse blade preferred)
- Utility knife
- Drill with appropriate bits
- Jigsaw or oscillating multi-tool (for cutouts)
- Rubber mallet
- Straightedge or metal ruler
Materials Required
- WPC wall panels
- Matching trims (corner trims, starter trims, end caps)
- Construction-grade adhesive (low VOC, solvent-free)
- Screws or concealed fasteners (if required)
- Silicone sealant for edges and wet zones
- Masking tape
Safety Equipment
- Protective gloves
- Safety goggles
- Dust mask
Measure each wall carefully. Multiply wall height by width to calculate total coverage. Always purchase an additional 10–15% of panels to allow for cutting waste, pattern matching, and future repairs.
Plan the panel layout in advance to avoid narrow strips at corners or ceilings. If walls are uneven, install furring strips or battens to create a flat and stable base.
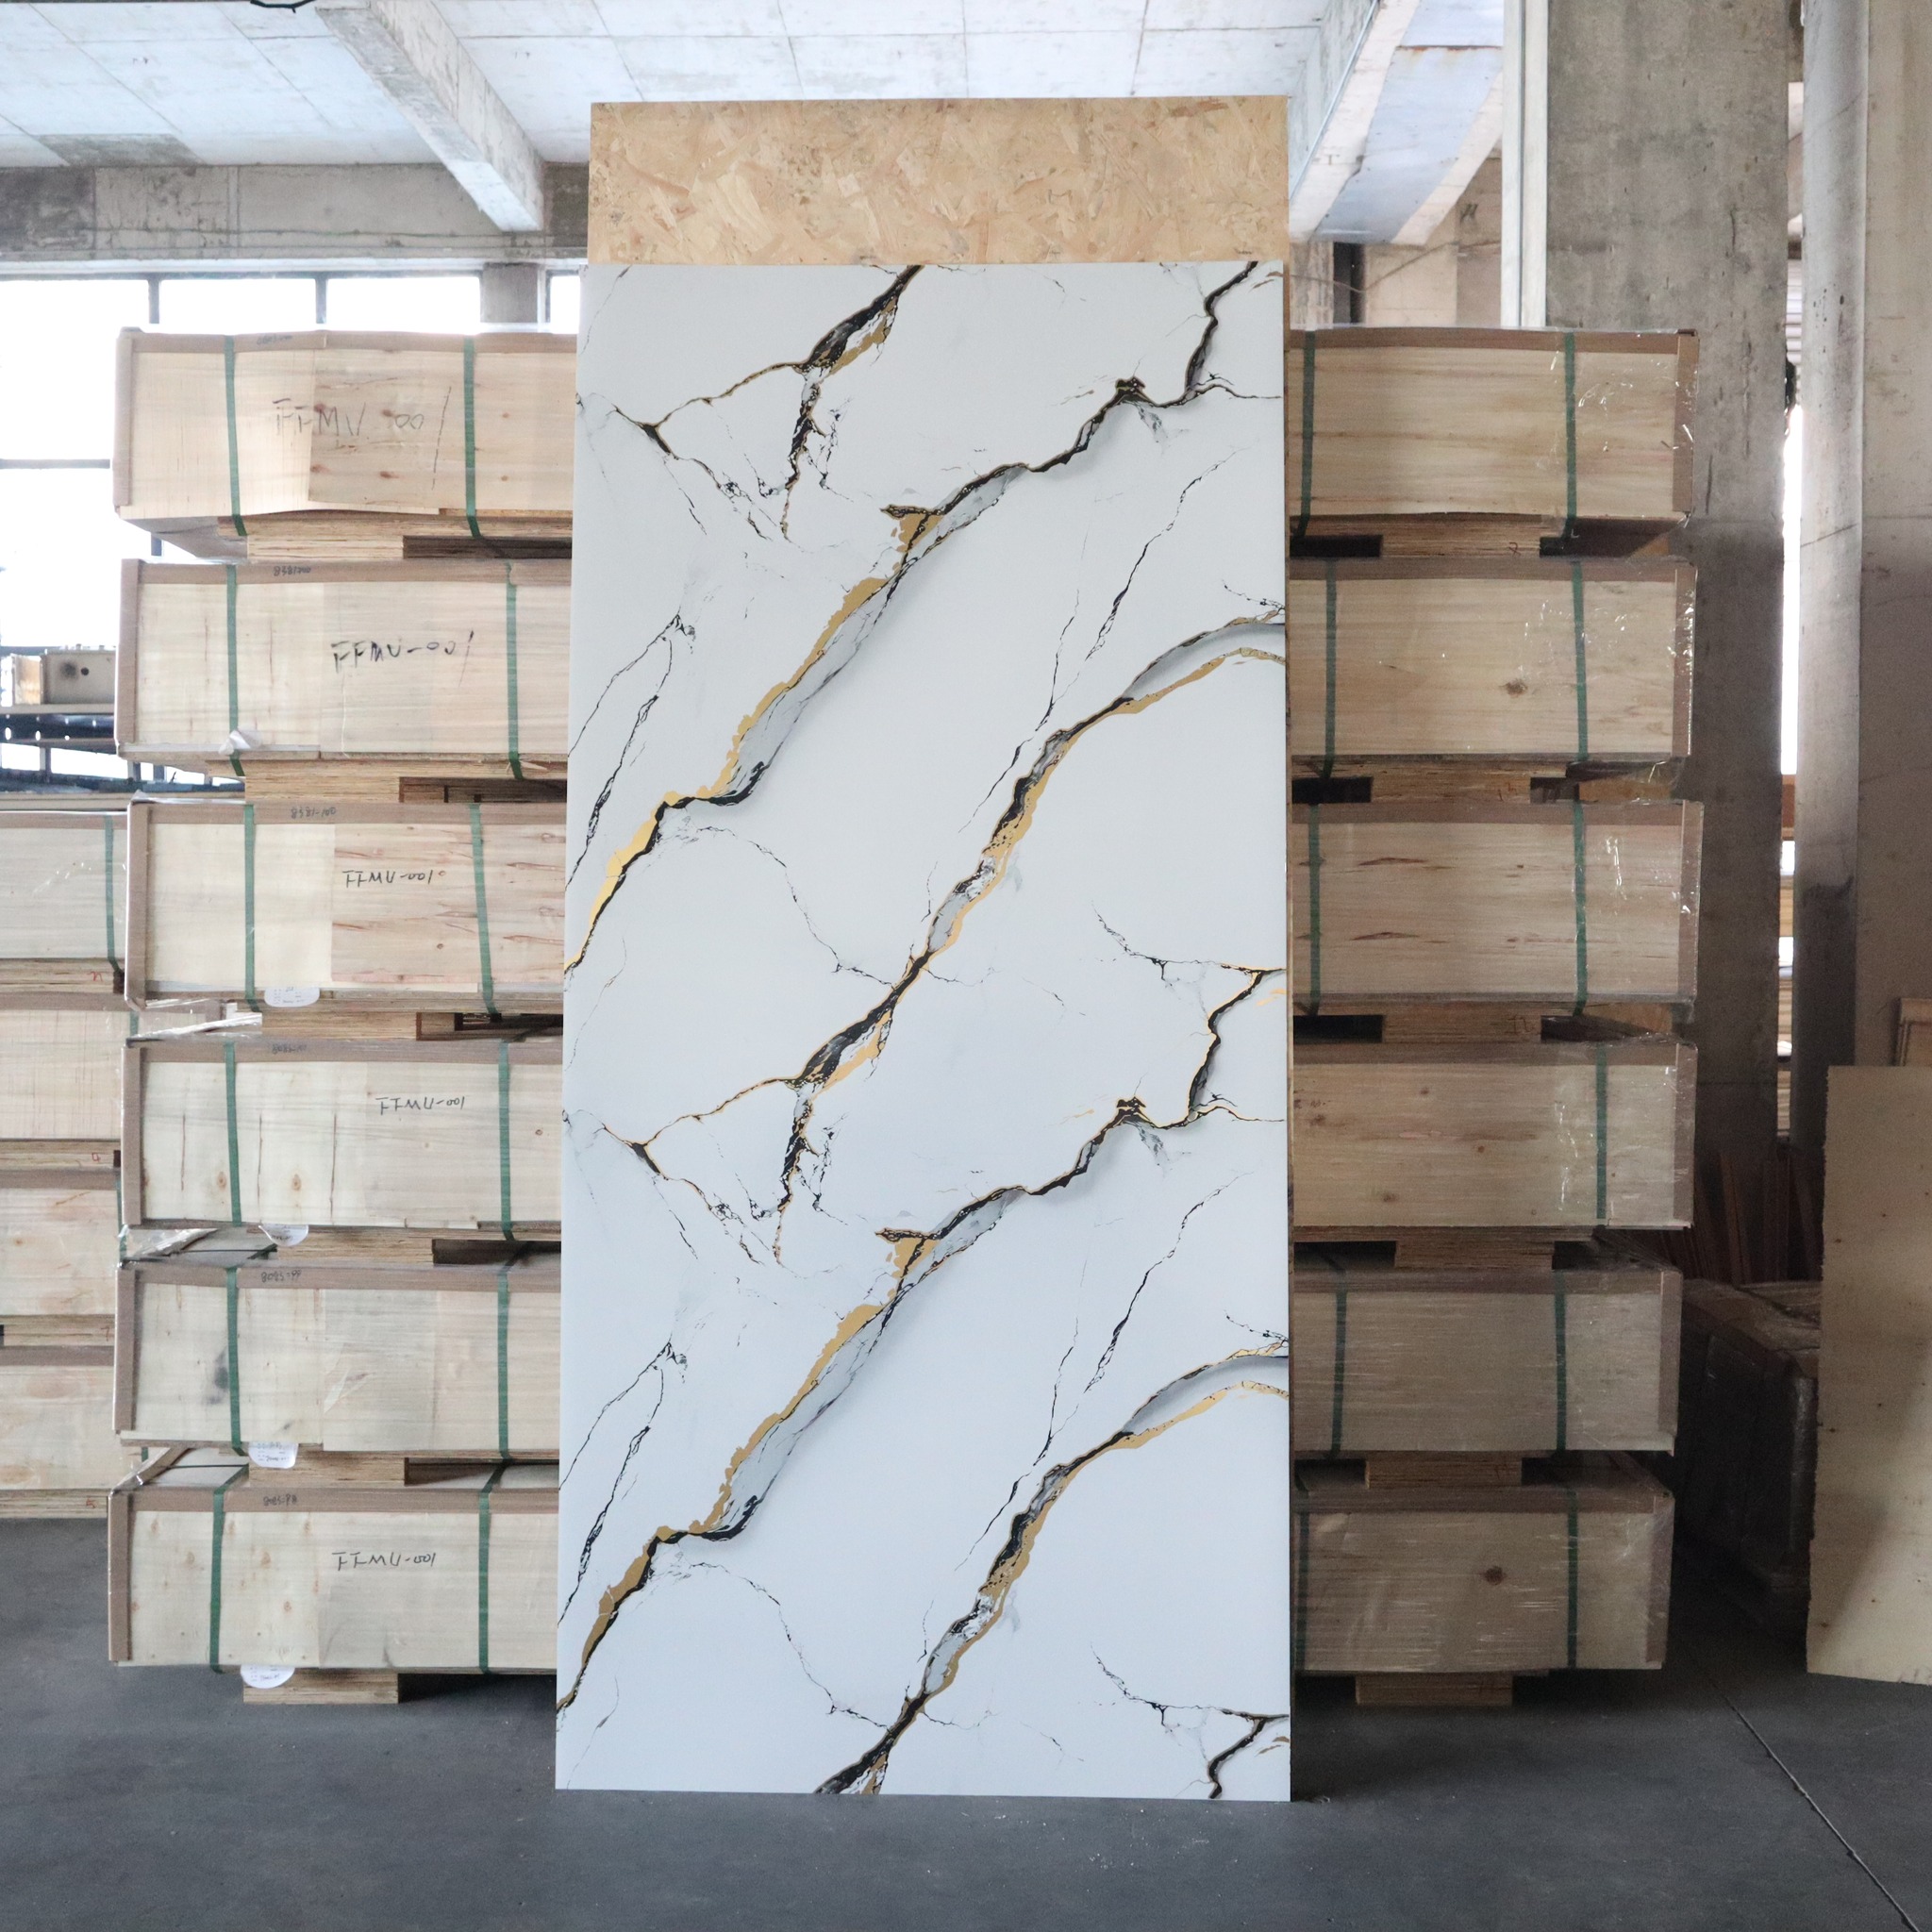
Understanding WPC Wall Panel Types
WPC wall panels are available in several structural formats, each with specific installation requirements.
- Flat Decorative WPC Panels
These panels are commonly used for feature walls and decorative surfaces. They are installed using adhesive and trims, with minimal visible joints.
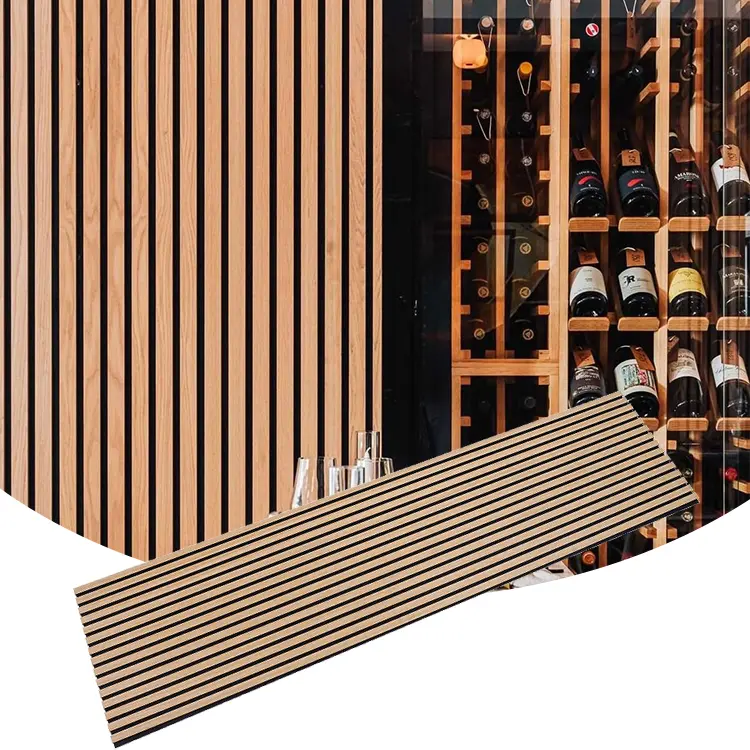
- Interlocking WPC Wall Panels
Interlocking panels feature a click-lock or hidden joint system that creates a seamless appearance. This system improves alignment and speeds up installation.
- Tongue-and-Groove WPC Panels
This traditional system offers strong panel connections and is suitable for large wall areas. Precise alignment is required for optimal results.
Always follow the manufacturer’s installation guide, as connection designs vary between brands.
Surface Preparation Requirements
The wall surface must be clean, dry, and structurally sound.
- Remove dust, grease, loose paint, or wallpaper
- Repair cracks or uneven areas
- Ensure moisture issues are resolved before installation
- In humid rooms, apply a moisture-resistant primer
For concrete or masonry walls, mechanical fixing combined with adhesive is recommended. For drywall, confirm that the substrate can support the panel weight.
Step-by-Step Installation Methods
Method 1: Adhesive Installation (Flat Walls)
- Install starter or corner trims along the wall edge.
- Apply adhesive to the back of the panel in vertical lines or an “S” pattern.
- Press the panel firmly against the wall and check alignment using a level.
- Secure temporarily with masking tape until adhesive cures.
- Continue panel by panel, ensuring consistent spacing.
- Finish with end trims and edge sealant if needed.
Method 2: Interlocking Panel Installation
- Fix the starter trim vertically.
- Apply adhesive or fasteners to the first panel.
- Insert the next panel by locking it into the previous one.
- Use a rubber mallet gently to ensure tight joints.
- Continue across the wall, checking alignment regularly.
Method 3: Tongue-and-Groove Installation
- Position the first panel with the groove facing the wall edge.
- Secure through the tongue using concealed screws.
- Insert the next panel and tap into place.
- Maintain a small expansion gap (3–5 mm) at edges.
- Trim the final panel carefully to fit.
For outlets, switches, or fixtures:
- Measure and mark the cutout position accurately.
- Cut openings using a jigsaw or multi-tool.
- Reinforce cut edges with adhesive before installation.
- Install cover plates after panels are fixed.
Always cut panels face-down to reduce surface damage.
Common Installation Mistakes and Solutions
- Panel Warping: Caused by insufficient adhesive or uneven walls
- Visible Gaps: Result of poor alignment or missing expansion gaps
- Surface Damage: Use fine-tooth blades and slow cutting speeds
- Loose Panels: Ensure adhesive curing time is respected
- Installation Time: 5–8 hours for a 10 m² wall
- Material Cost: Typically USD 15–35 per square meter, depending on design and thickness
Final Notes and Best Practices
WPC wall panels offer a durable, modern wall solution with minimal maintenance requirements. Correct installation ensures long-term performance and a premium visual effect. Always store panels flat before installation and allow them to acclimate to room temperature for at least 24 hours.
Frequently Asked Questions About WPC Wall Panels
Can WPC Wall Panels Be Used Indoors?
Yes. WPC panels are widely used for interior walls in residential and commercial spaces due to their stability, appearance, and moisture resistance.
Are WPC Panels Durable?
WPC panels are impact-resistant, dimensionally stable, and designed for long-term indoor use.
Are WPC Panels Cost-Effective?
Compared to solid wood or stone, WPC panels offer lower installation and maintenance costs while maintaining a premium look.