UV Marble Sheets 8×4 The Ultimate Guide for Large-Scale Projects
UV Marble Sheets 8×4: The Ultimate Guide for Large-Scale Projects
1. Introduction to 8×4 UV Marble Sheets
In the world of interior design and commercial construction, the demand for seamless, durable, and visually striking materials has never been higher. Uv Marble Sheets—engineered composite panels treated with UV-curing coatings—have emerged as a game-changer, offering the luxury of natural marble without the high cost, weight, or maintenance. Among these, the8×4 ft (2.4m × 1.2m) size stands out for large-scale projects, addressing the longstanding frustrations of traditional smaller sheets (e.g., 4×8 ft): excessive seams, prolonged installation, and material waste.
This guide breaks down everything you need to know about 8×4 UV marble sheets—from their core benefits to installation best practices—helping you make informed decisions for hotels, offices, restaurants, museums, and other commercial spaces.
2. Why Choose 8×4 UV Marble Sheets?
The 8×4 size redefines efficiency and aesthetics for large projects. Below is a side-by-side comparison with standard 4×8 ft sheets, highlighting key advantages:
| Feature | Standard 4×8 ft Sheets | 8×4 UV Marble Sheets |
| Size | 4×8 ft (32 sq. ft) | 8×4 ft (32 sq. ft) – same coverage, fewer seams |
| Seams per 100 sq. ft | 8–10 visible joints | 3–4 visible joints (70% reduction) |
| Installation Time | 4–5 hours per 100 sq. ft | 2–3 hours per 100 sq. ft (50% faster) |
| Material Waste | 15% (due to small cuts) | 5% (minimal trimming) |
| Visual Impact | Broken texture, visible seams | Uninterrupted veining, seamless luxury look |
Key Advantages Explained:
- Fewer Seams: Visible joints are a major drawback of small sheets—they collect dust, require frequent sealing, and break the "natural marble" illusion. With 8×4 sheets, 70% fewer seams mean easier cleaning, less maintenance, and a cohesive, high-end appearance.
- Faster Installation: Covering double the linear space per panel cuts labor time in half. For time-sensitive projects (e.g., restaurant renovations, hotel openings), this translates to lower labor costs and faster project delivery.
- Less Waste: A 10% reduction in waste might seem small, but for large projects (e.g., 640 sq. ft), it saves 128 sq. ft of material—equivalent to 4 full 8×4 sheets (see Section 7 for details).

3. Cost Breakdown by Grade
8×4 UV marble sheets are available in four grades, each tailored to specific use cases and budgets. All prices are per 8×4 sheet (32 sq. ft):
| Grade | Thickness | Price (USD) | Best For | Key Benefits |
| Economy | 0.5mm | $256 | Vertical walls, low-traffic areas (e.g., apartment corridors, storage rooms) | Lightweight, cost-effective, easy to install on non-load-bearing surfaces. |
| Standard | 1–2mm | $384 | Backsplashes, furniture (e.g., office desks, kitchen islands) | Balanced durability: resistant to minor scratches and daily spills; easy to wipe clean. |
| Premium | 3–5mm | $672 | Countertops, commercial spaces (e.g., café bars, hotel front desks) | High-impact resistance; withstands heavy use, heat (up to 80°C), and frequent cleaning. |
| Custom | 5mm+ | $960+ | Curved surfaces, high-end designs (e.g., museum exhibit cases, luxury retail displays) | Bendable up to 15°; customizable colors, textures, and pre-cut openings (e.g., for outlets). |
Value Tip:
For mixed-use spaces (e.g., a restaurant with walls and counters), combine grades to optimize cost: Use Standard grade (1–2mm) for walls and Premium grade (5mm) for counters. This balances durability and budget without compromising aesthetics.
4. Top 5 Benefits of 8×4 Panels
Beyond the numbers, 8×4 UV marble sheets solve critical pain points for contractors and designers:
1. Unmatched Pattern Continuity
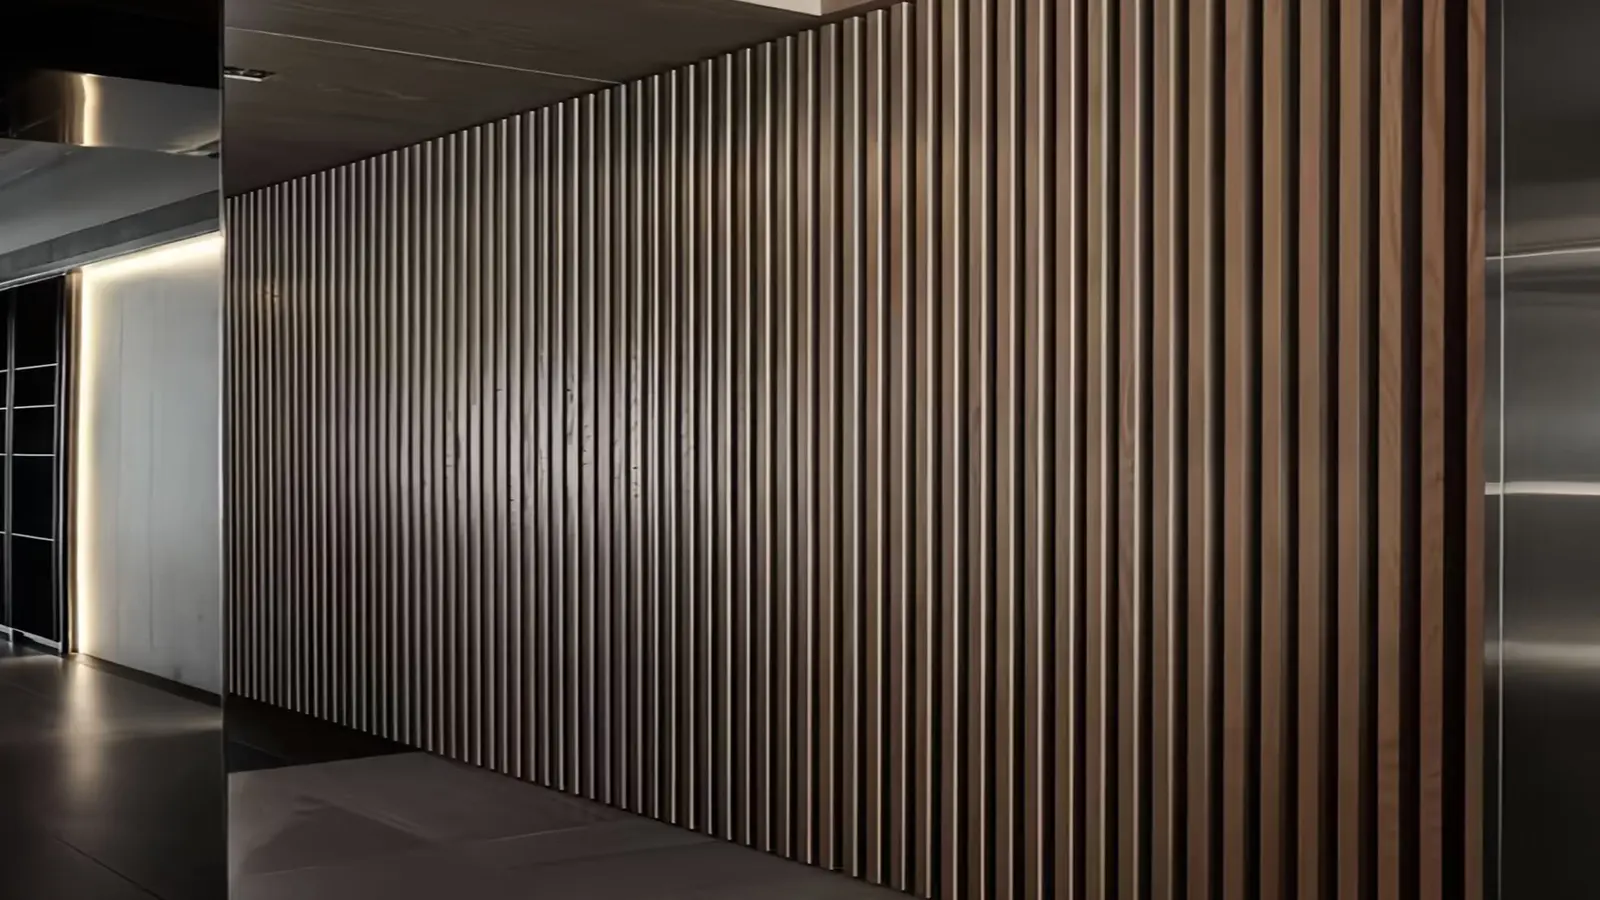
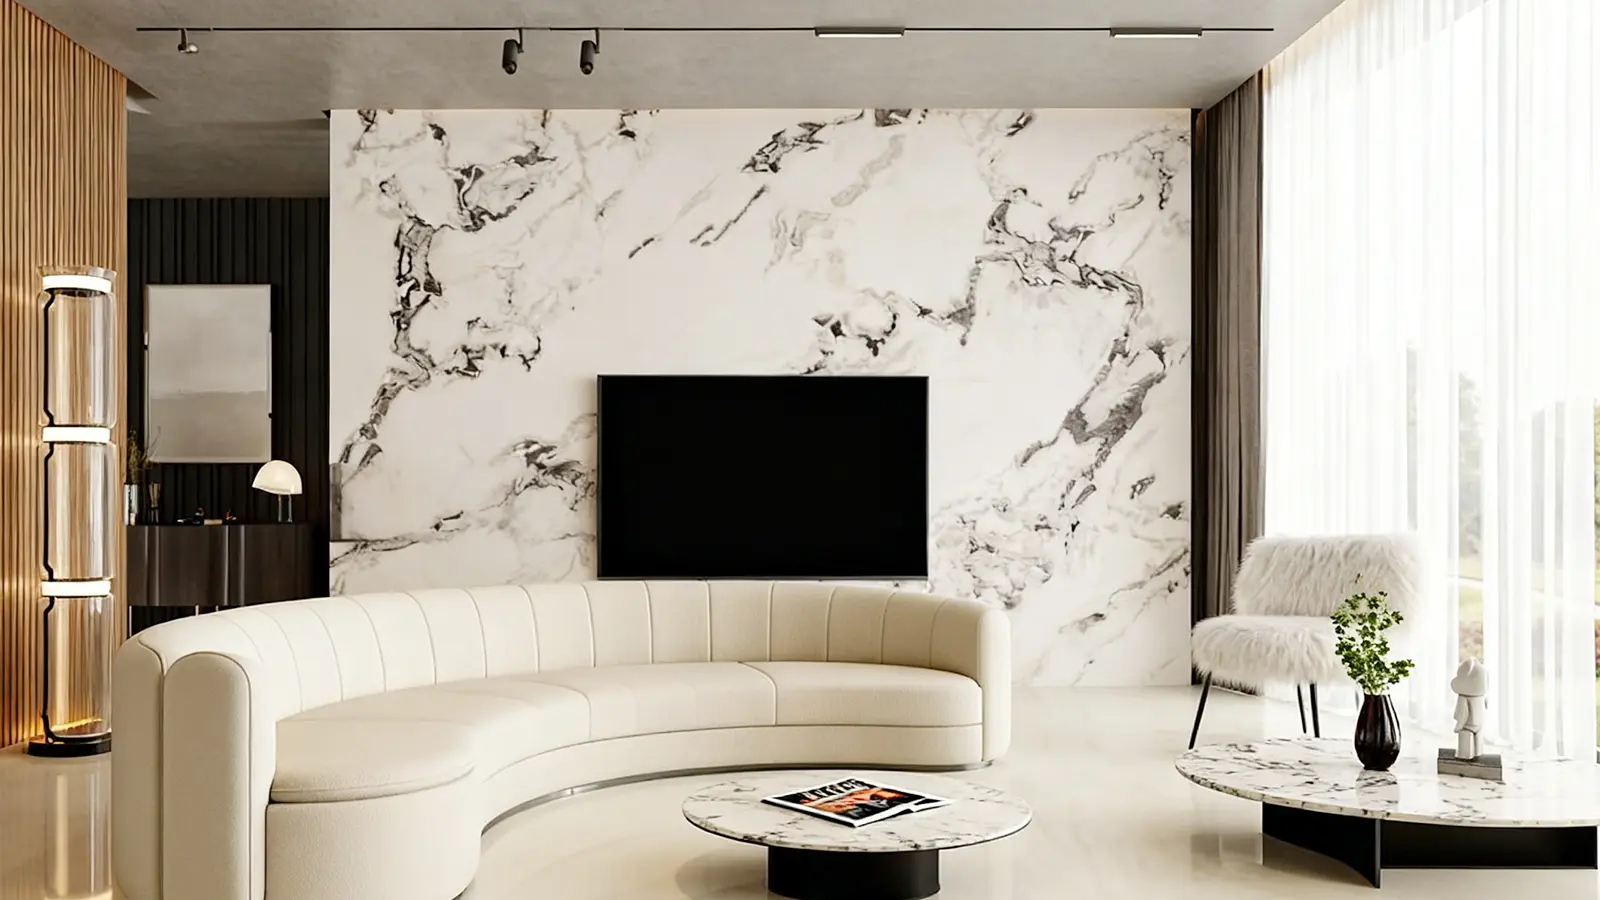
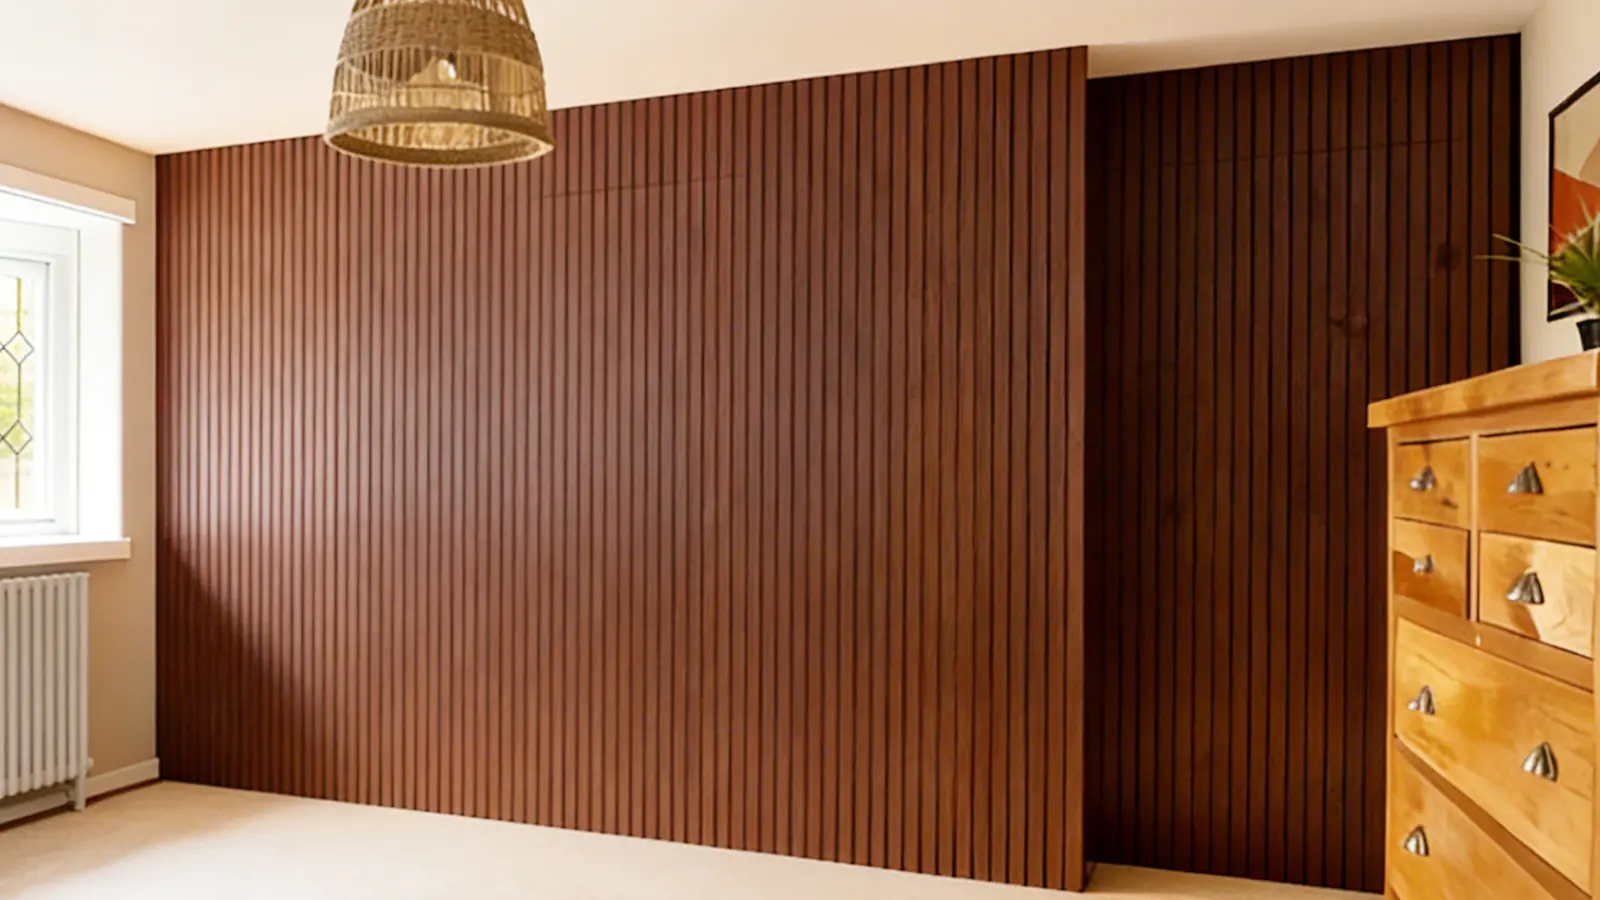
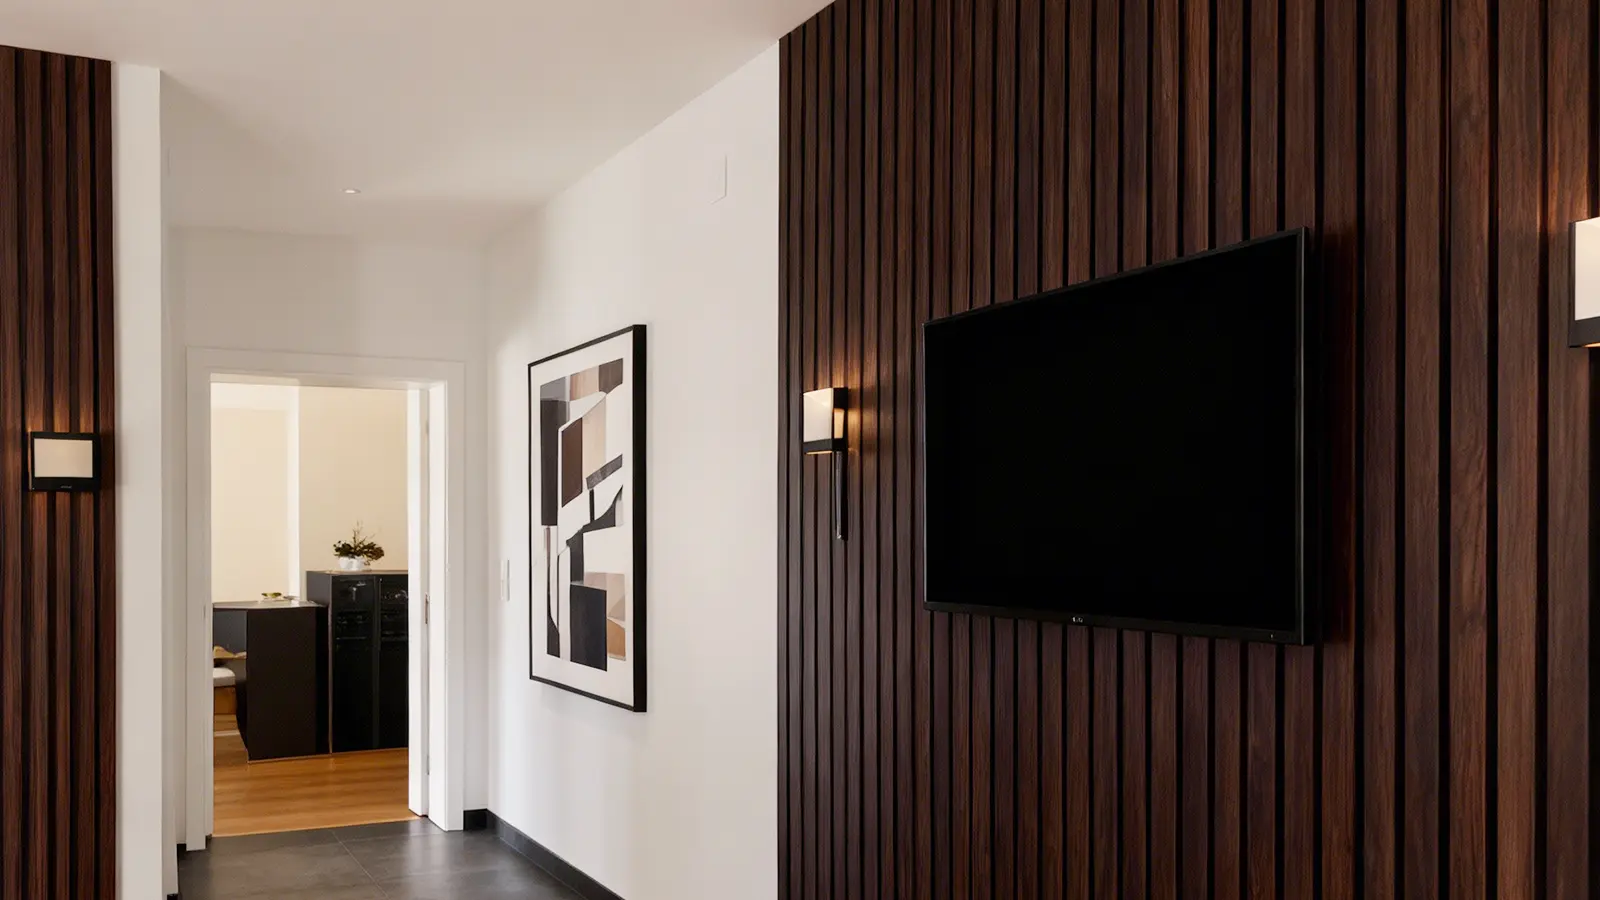
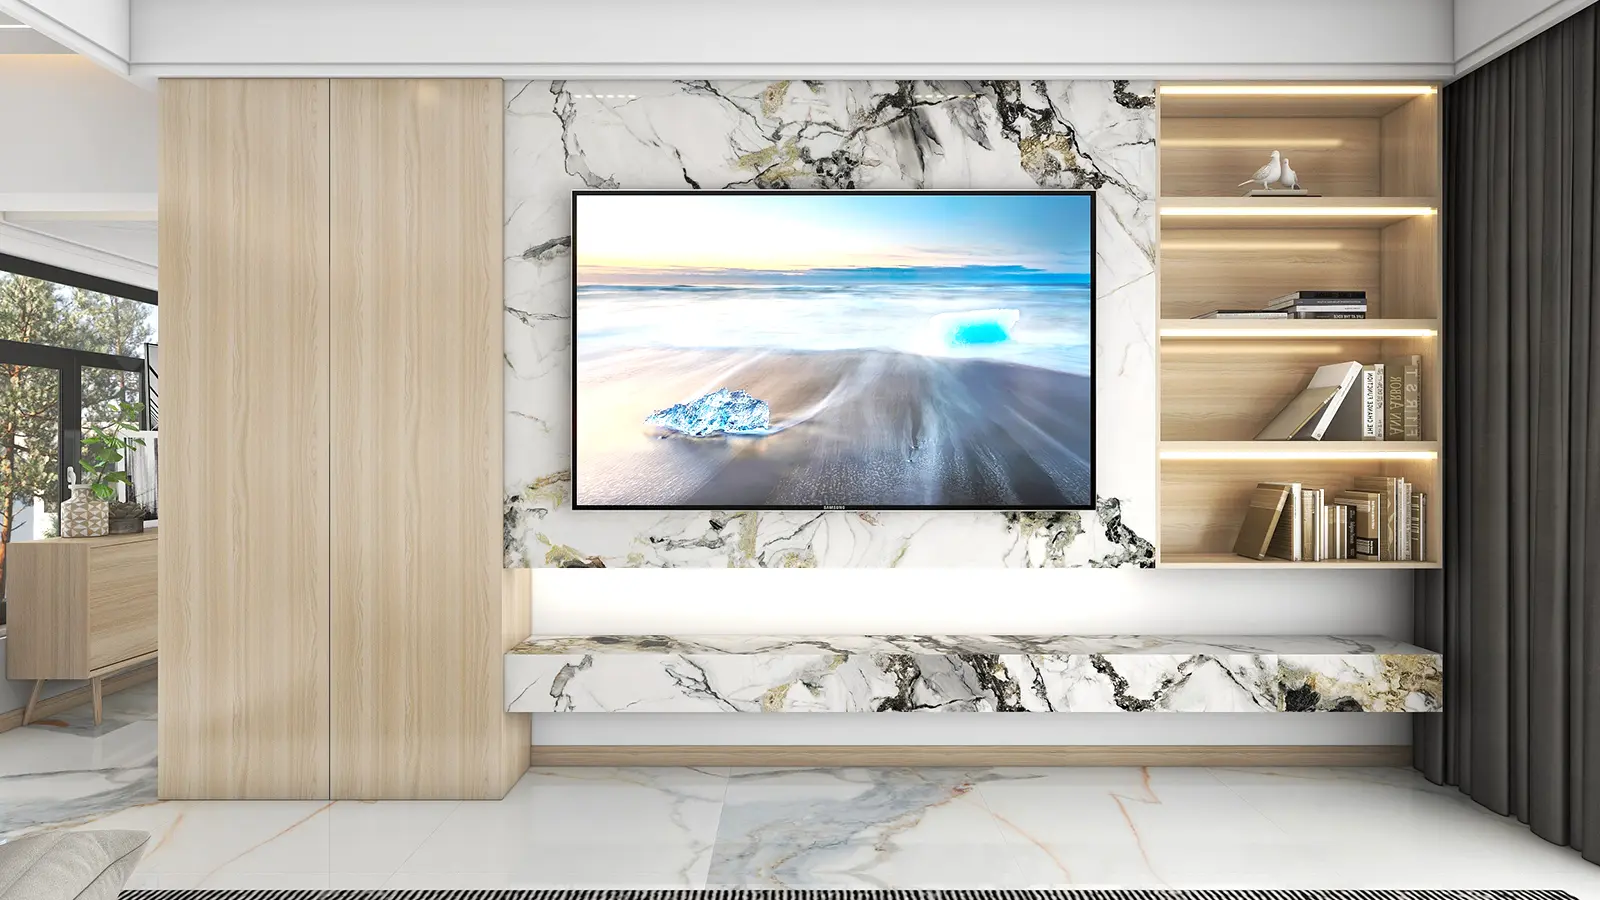
Natural marble’s beauty lies in its unbroken veining—but small sheets force texture to "jump" at seams. 8×4 panels let veining flow across entire walls or counters, mimicking the look of a single slab of high-end marble. This is especially valuable for spaces where aesthetics drive customer perception (e.g., museum feature walls, luxury hotel lobbies).
2. Stronger, More Durable Structure
The larger surface area of 8×4 sheets means more adhesion to the wall or substrate—reducing the risk of edge lifting (a common issue with small sheets, which can peel over time). The reinforced core (typically glass fiber + resin) also prevents sagging, even for horizontal surfaces like countertops or shelves.
3. Eco-Friendly Design
8×4 sheets generate 40% less packaging waste than standard sheets. Traditional 4×8 panels require individual foam wrapping and smaller boxes; 8×4 sheets are shipped flat-packed in larger, reusable containers, cutting down on plastic and cardboard. This aligns with modern businesses’ sustainability goals and can even qualify projects for green building certifications (e.g., LEED).
4. Lower Long-Term Maintenance
Fewer seams mean fewer places for dirt, grease, or moisture to collect. For restaurants or cafes—where spills are common—this translates to less time spent scrubbing seams and re-sealing gaps. UV-cured coatings also resist fading from sunlight (ideal for spaces with large windows) and repel stains, so walls stay clean with just a wipe.
5. Flexibility for Custom Designs
While 8×4 is a standard size, manufacturers like RUIDE® offer customizations:
- Pre-cut openings for outlets, switches, or fixtures (eliminates messy on-site cutting).
- Custom edge finishes (e.g., rounded edges for child-friendly spaces, polished for modern designs).
- Bendable options (up to 15°) for curved walls or columns—something small sheets can’t achieve without visible seams.
5. Installation Made Simple: 3-Step Process
Installing 8×4 panels is straightforward—if you follow the right steps. Unlike small sheets, they require a 2-person team (to avoid bending or damaging the panel) and a few specialized tools.
Step 1: Prep the Surface
- Clean the wall/substrate thoroughly: Remove dust, grease, or old paint. Use a damp cloth, then let it dry completely.
- Smooth uneven surfaces: Fill cracks or holes with spackle, then sand until flat. Use a level to confirm the surface is even (uneven walls cause panels to bubble).
- Apply primer (optional but recommended): For porous surfaces (e.g., drywall), a primer improves adhesion and prevents the panel from peeling.
Step 2: Measure & Cut
- Mark the panel: Use a T-square guide to draw straight lines. For outlets or fixtures, mark the center and radius (use a template for accuracy).
- Score and snap: Use a sharp carbide-tipped blade to score the panel (depth = 1/3 of the thickness). Place the scored line over the edge of a workbench, support both sides, and snap gently.
- Trim edges: Use a file to smooth rough edges—this ensures tight seams between panels.
Step 3: Peel, Position, & Finish
- Peel the backing: Start from one corner and pull slowly—avoid touching the adhesive (oils from your hands reduce stickiness).
- Position the panel: Align it with your laser level marks. Have a partner hold the top while you adjust the bottom to avoid shifting.
- Secure with a J-roller: Roll from the center outward with 50–60 lbs of pressure—this eliminates air bubbles and ensures full adhesion.
- Seal seams: Apply a clear, waterproof sealant along any visible joints. Let it dry for 24 hours before using the space.
Key Tools You’ll Need
- 2-person team (critical for safe handling—8×4 panels weigh ~20 lbs each).
- T-square guide (aluminum for durability; ensures straight cuts).
- J-roller (rubberized to avoid scratching the UV coating).
- Laser level (battery-powered for easy alignment across large walls).
- Carbide-tipped blade (for clean cuts without chipping).
6. Handling Large Sheets: 3 Pro Tips
8×4 panels are durable, but improper handling can cause cracks or bending. Follow these guidelines to protect your investment:
1. Storage
- Lay flat on plywood: Use 18mm-thick plywood sheets to support the panel’s weight. Stack no more than 5 panels high (excess weight causes bending).
- Avoid vertical storage: Leaning panels against walls puts pressure on the bottom edge, leading to permanent warping.
- Control humidity: Store in a dry area (40–60% humidity). Moisture can damage the adhesive backing or cause the core to swell.
2. Transport
- Use a panel cart: Choose a cart with rubber wheels (to reduce vibration) and a flat base (to keep the panel stable). Secure the panel with straps to avoid sliding.
- Protect corners: Wrap each corner with 2cm-thick foam padding—corners are the most vulnerable to chipping during transport.
- Avoid overloading: Never stack more than 3 panels on a cart. Overloading can cause panels to shift and scrape against each other.
3. Cutting
- Score deeply: A shallow score leads to uneven breaks. Aim for a score depth of 1/3 the panel’s thickness—this ensures a clean snap.
- Support both sides: When snapping, place the scored line over a workbench and have a partner hold the opposite side. This prevents the panel from bending and cracking unpredictably.
- Test cuts first: Always make a test cut on a scrap piece (included with most orders) to adjust your blade pressure and technique.
7. Conclusion
8×4 UV marble sheets are the future of large-scale commercial design—offering seamless luxury, faster installation, and significant cost savings. Whether you’re renovating a hotel lobby, building a restaurant counter, or designing a museum exhibit, these panels solve the biggest pain points of traditional small sheets.
Contact our team today for bulk pricing or to request your sample—and take the first step toward a seamless, high-end space.
